SUMMARY
This article pertains to Web1040 Pro Preparing a tax return
________________________________________________________________________________________________________________________________________________________________
Return Preparation
Web1040 Pro is a collaboration of award-winning software and contemporary web design, transforming tax preparation into a seamless process. You can begin the preparation process by clicking Start New Tax Return from the Web1040 Pro Welcome Page. Data entry will flow in the following order:
- Filing Status
- Personal Information
- Federal Section
- Health Insurance
- State Section
- E-File
- Amended Return
The federal and state sections mentioned above consist of several sub-menus:
Federal Section
- SSN Entry
- Basic Information
- Income
- Deductions
- Other Taxes
- Payments & Estimates
- Miscellaneous Forms
State Section
- State Residency
- State Income
- State Adjustments/Deductions/Credits
- Miscellaneous
Starting a New Tax Return
To prepare a tax return, click Start New Tax Return from the Web1040 Pro Welcome Page. The first step in return preparation is entering the taxpayer’s Social Security Number (SSN). To ensure accuracy, SSNs are entered twice.
- Click Start Return. Web1040 Pro will validate the data. If the client’s SSN was already used to prepare a tax return in that tax year, an error message will inform the tax preparer:

- The tax preparer will need to review the SSN if they receive an error message. Once the SSN entries match, you will be able to begin the return.
NOTE: To bypass the validation, a bogus SSN can be used to create the return. The correct SSN can be entered within return preparation.
- At the top of the SSN entry page is a drop-down to select a Taxpayer Profile. Profiles are set up in office configuration. Taxpayer Profiles guide a preparer through a series of forms upon entering a tax return, however they are not required. The program will default to the basic (blank) profile if a custom profile isn’t selected.
Pulling Prior Year Data
Web1040 Pro will validate an SSN with the last tax year’s tax return that are from the same office. If the return is also in the last year, the program will allow you to pull most data forward into the new tax year when you are starting the tax return.
- If the return’s data is found in the previous tax year, you will see a menu like below when you start the return in the current tax year. The menu is broken into separate categories; items that will be pulled forward, and items with no data to pull. Any box with a checkmark will pull into the current year tax return. The check box Select All Available will automatically default to checked.
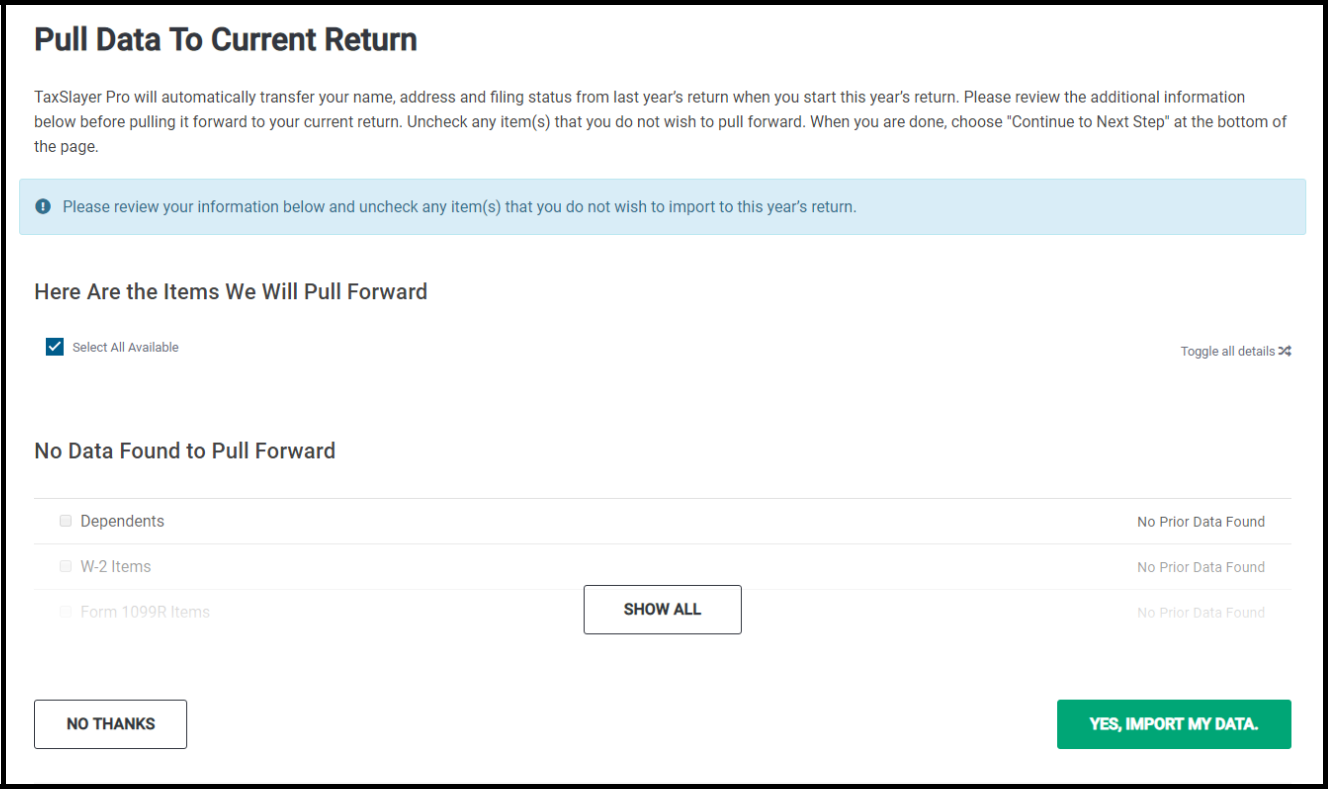
Select to either import the data from the prior year, or no thanks, then Continue to proceed with preparing the current tax return.
Filing Status
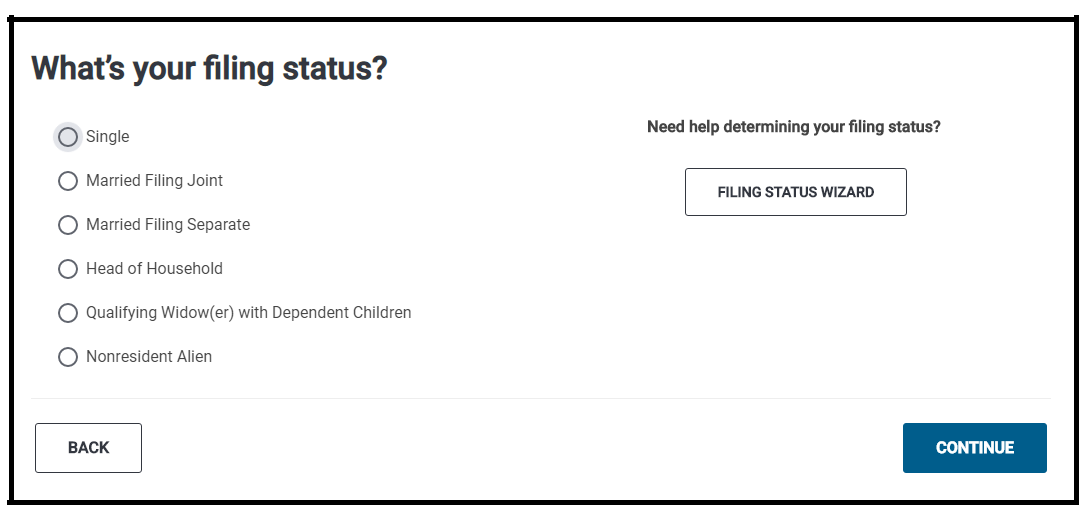
Web1040 Pro will next prompt the preparer to select the taxpayer’s filing status. If the filing status is not known, the Filing Status Wizard is available to guide the preparer. A series of questions help determine the correct status.
There are six filing statuses to choose from. The first five options are for resident tax returns; the final is for a nonresident return.
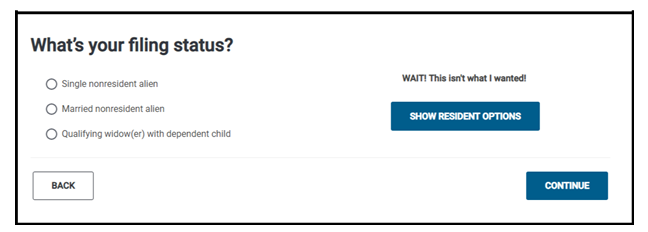
The next step is entering personal information. For nonresident returns, however, additional information is needed. The following screen will appear after selecting Nonresident Alien:
The filing status can be changed later, however there are limitations to keep in mind:
- Returns cannot switch between resident and nonresident statuses while active. To change the status, the return must be deactivated. When the return is re-created, the preparer can choose between resident and nonresident.
- If residency has changed, do not pull prior year information. This will pull the prior year status; the previous step will need to be used to change residency.
- Spouse information will be lost if the status changes from a joint return to an individual return.
- State returns will be deleted if you change the filing status. A warning message will inform the preparer.
Personal Information
After selecting a filing status, the personal information menu will appear. This menu will be pre-populated if prior year information was pulled forward. If that is the case, please review and update as necessary.
Check any boxes that apply to the taxpayer and spouse. City and state will populate based off the zip code entered.
- If the taxpayer and/or spouse is applying for an ITIN (Form W-7), enter 000-00-0000 for the SSN when you are creating the tax return. The program will recognize the SSN and allow the preparer to complete the ITIN menu under Federal Section -> Miscellaneous Forms -> Application for ITIN.
- If an ITIN applicant received a W-2, the program will allow entry of a different SSN on the W-2 entry page; Federal Section -> Income -> Wages and Salaries.
- 1040 PR will generate if program recognizes zip code as Puerto Rican.
Towards the bottom of the Personal Information page is a field titled Resident State as of
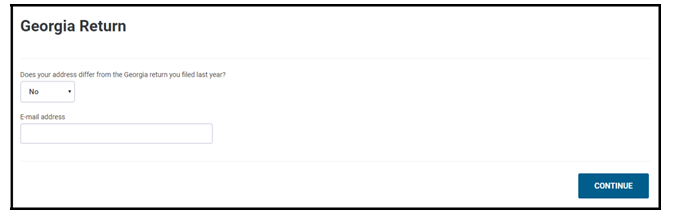
12/31/20XX. This option will allow the preparer to select the taxpayer’s state of residency as of the final day of the tax year. After clicking Continue, the program will display any residency state questions. After the questions are answered, the resident state return is created. If no state return is needed, or if the state return is for a nonresident/part-year, select None for the resident state.
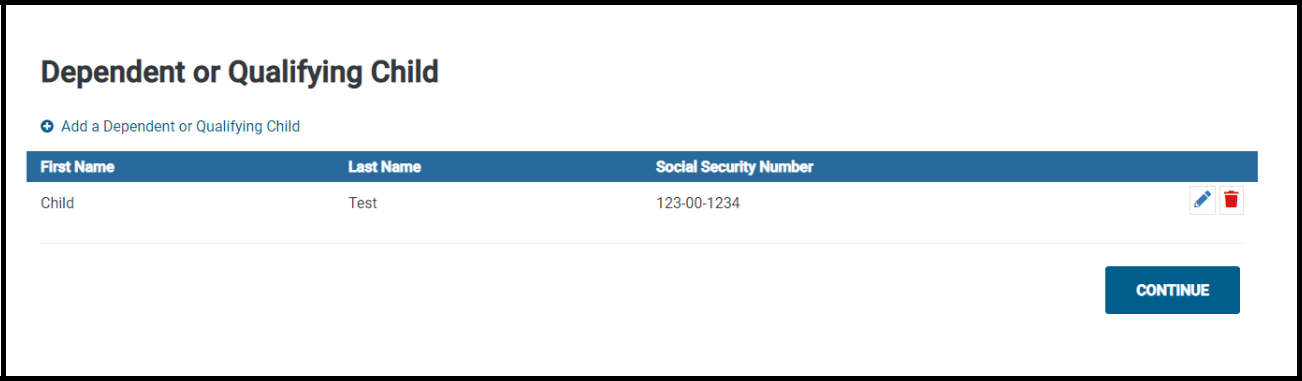
Dependent / Qualifying Child Information
The final piece of Basic Information is entering Dependent(s)/Qualifying Person(s) information. If the taxpayer is claiming dependents or other qualifying persons on their return, the program will prompt the preparer to enter the dependent’s name, date of birth, social security number, relationship to the taxpayer and the number of months this person lived in the taxpayer’s home during the year.
NOTE: If the dependent was born or died during the tax year, select 12 months for time spent with taxpayer.
To add multiple dependents, click Add a Dependent or Qualifying Child on the following Dependent or Qualifying Child screen.
Clicking Continue will exit the Basic Information section. The next section will cover entering income, deductions, and credits for the taxpayer’s federal return.